Internet of Things clock created with LED strip lights from buzai232's blog
Internet of Things clock created with LED strip lights
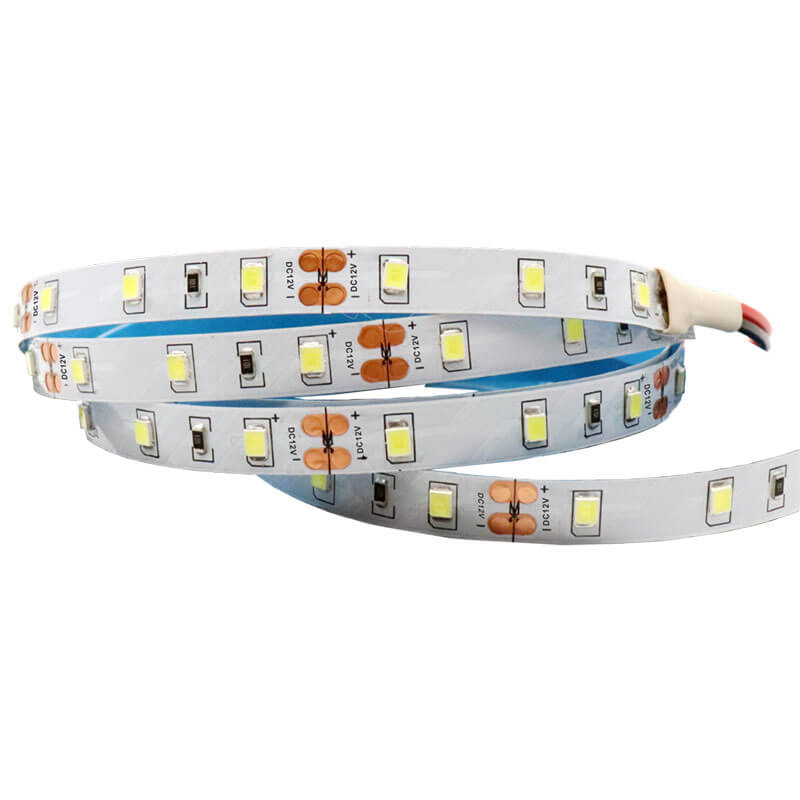
If you are searching for a new project to keep you busy this weekend you might be interested in this fantastic analogue Internet of Things clock created by Instructables member tweeto. The decorative analogue LED IoT clock has been designed in Autodesk Fusion 360 and 3D printed before being equipped with a strip of LED lights. Check out the video below to learn more about its construction.To get more news about led bar decor, you can visit htj-led.com official website.
If you would like to build your very own IoT clock jump over to the official project page on the Instructables website for full instructions, parts list and more details on the build.
“An analog IoT LED clock running on an ESP8266, driving a WS2812B LED strip, constantly synched using an NTP server and controlled by your smartphone via a web server. Actually, It is not that complicated and all of the above is really easy to achieve if you already have some experience with Arduino, ESP, LED strips, and basic coding. I wanted to make this clock for a long time ago, and I even found some projects here, but none of them had all the key features I visioned in mind, and the way I see it, It had to have all of these properties:
“I designed the clock using Autodesk Fusion 360 which I highly recommend, It took a couple of days to achieve a print-ready model. The entire design was made for 60 LEDs per meter strip, but I used parametric modeling in Fusion 360 so I could easily scale this project to fit longer strips for bigger clocks. I also had to split it into 4 in order to fit my printing bed (that’s also a design feature for scaling up, but if you have a bigger printing volume you can combine the parts and print all at once).”
“I think there are many ESP8266 and ESP32 webserver instructables and tutorials out there, and there is nothing special in my code, except the calculation of the position of each led and it’s mirrored one facing inwards, in addition to compensating for the ring starting from the bottom and flipping the loop inwards.”
Post
| By | buzai232 |
| Added | Feb 12 '23, 08:06PM |
Tags
Rate
Archives
- All
- December 2017
- November 2017
- October 2017
- September 2017
- June 2017
- May 2017
- December 2018
- November 2018
- October 2018
- September 2018
- August 2018
- July 2018
- June 2018
- May 2018
- April 2018
- March 2018
- January 2018
- December 2019
- November 2019
- October 2019
- September 2019
- August 2019
- July 2019
- June 2019
- May 2019
- April 2019
- March 2019
- January 2019
- December 2020
- November 2020
- October 2020
- September 2020
- August 2020
- July 2020
- June 2020
- May 2020
- April 2020
- March 2020
- January 2020
- December 2021
- November 2021
- October 2021
- September 2021
- August 2021
- July 2021
- June 2021
- May 2021
- April 2021
- March 2021
- February 2021
- January 2021
- December 2022
- November 2022
- October 2022
- September 2022
- August 2022
- July 2022
- June 2022
- May 2022
- April 2022
- March 2022
- February 2022
- January 2022
- December 2023
- November 2023
- October 2023
- September 2023
- August 2023
- July 2023
- June 2023
- May 2023
- April 2023
- March 2023
- February 2023
- January 2023
- December 2024
- November 2024
- October 2024
- September 2024
- April 2024
- December 2025
- November 2025
- October 2025
- September 2025
- August 2025
- July 2025
- June 2025
- May 2025
- April 2025
- March 2025
- February 2025
- January 2025
- June 2026
- May 2026
- April 2026
- March 2026
- February 2026
- January 2026
The Wall